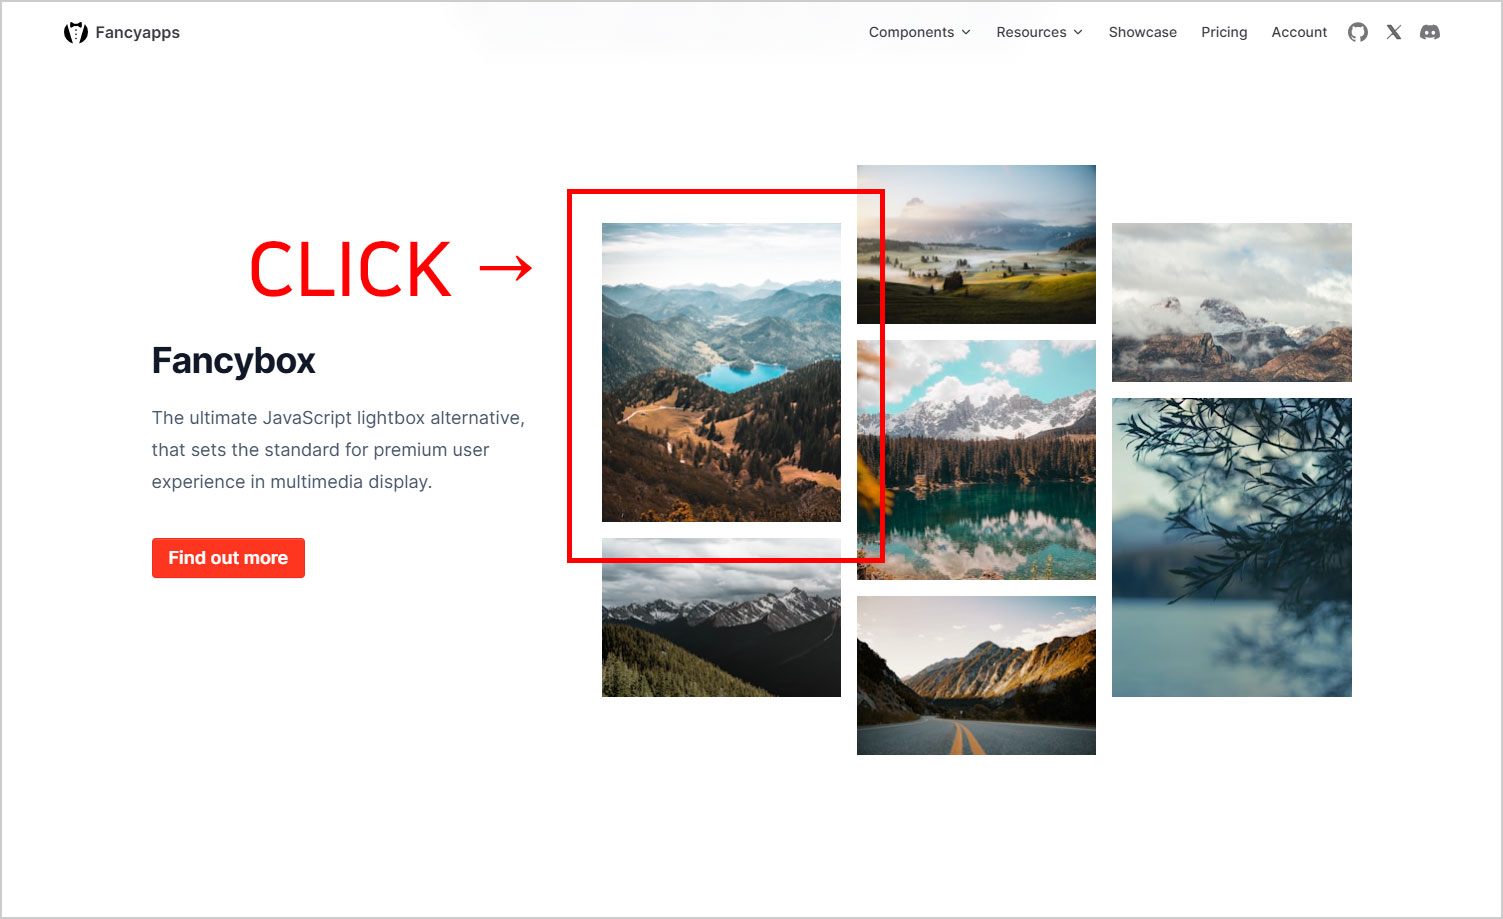
Fancybox는 이미지 갤러리를 만드는 JS 라이브러리이다.
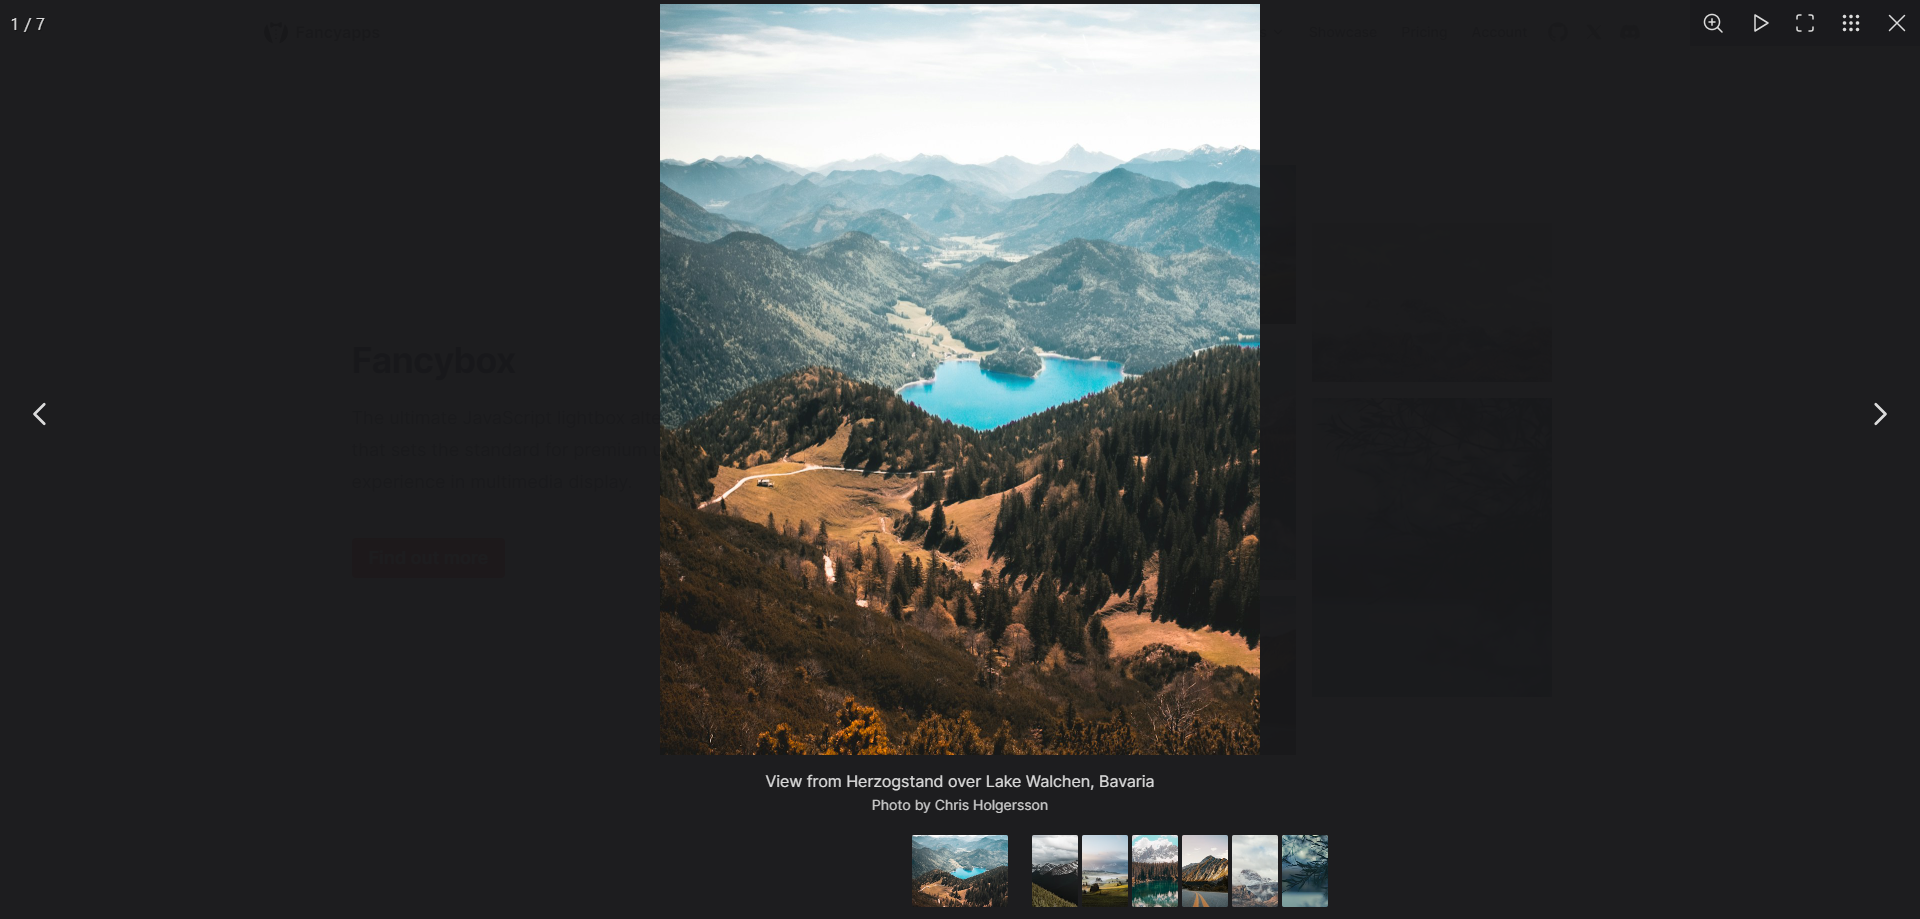
간단하게 요약해서 이미지를 클릭하면 전체화면으로 확대해주는 기능을 제공한다.
아래 예시처럼 갤러리 형태의 이미지들 중 작은 이미지를 클릭하면 전체화면의 큰 이미지가 뜨고 같은 그룹의 이미지들을 스와이프 할 수 있다.
사실 Fancybox 사용법 자체는 어렵지 않은데 설치 방법을 명확하게 이해하지 못해서 너무 시간을 오래 보냈다.
CDN을 쓰거나 아예 소스파일 자체를 로컬에 저장해서 불러와도 되긴 하겠지만 리액트에선 좋은 방법이 아닌것 같아 어떻게든 import를 활용하려 했다.
Fancybox 설치하기
# Fancybox 설치
$ npm install --save @fancyapps/ui
가장 먼저 npm으로 Fancybox 모듈을 설치한다.
이후 과정에서 헛갈린 부분이 있었는데 리액트에서는 Fancybox 컨테이너를 따로 만들어줘야 한다는 점을 너무 늦게 알았다.
즉, Fancybox.jsx 파일을 따로 만들어줘야 한다.
Fancybox.jsx 생성하기
//Fancybox.jsx

import { useRef, useEffect } from "react";

import { Fancybox as NativeFancybox } from "@fancyapps/ui";
import "@fancyapps/ui/dist/fancybox/fancybox.css";

function Fancybox(props) {
  const containerRef = useRef(null);

  useEffect(() => {
    const container = containerRef.current;

    const delegate = props.delegate || "[data-fancybox]";
    const options = props.options || {};

    NativeFancybox.bind(container, delegate, options);

    return () => {
      NativeFancybox.unbind(container);
      NativeFancybox.close();
    };
  });

  return <div ref={containerRef}>{props.children}</div>;
}

export default Fancybox;
Fancyapps 공식 홈페이지에 올라와있는 코드로 Fancybox.jsx 파일을 만들었다.
저장 위치는 진행중인 프로젝트의 폴더 구조에 따라 적당히 사용하기 편한 위치에 넣어주면 된다.
참고로 이 코드에서 리턴되는 컴포넌트는 클래스나 아이디가 지정되지 않은 div 태그로 감싸져있다.
혹시 CSS 수정 등을 위한 클래스 지정이 필요하면 return 문을 아래처럼 수정하면 된다.
return <div className='fancybox_wrapper' ref={containerRef}>{props.children}</div>;
Fancybox 사용하기
//Example.jsx

import Fancybox from './Fancybox.jsx';

const Example=()=>{
    return (
    	<>
            <Fancybox
              options={{
                Carousel: {
                  infinite: false,
                },
              }}
            >
              <a data-fancybox="gallery" href="https://lipsum.app/id/60/1600x1200">
                <img src="https://lipsum.app/id/60/200x150" width="200" height="150" />
              </a>
              <a data-fancybox="gallery" href="https://lipsum.app/id/61/1600x1200">
                <img src="https://lipsum.app/id/61/200x150" width="200" height="150" />
              </a>
              <a data-fancybox="gallery" href="https://lipsum.app/id/62/1600x1200">
                <img src="https://lipsum.app/id/62/200x150" width="200" height="150" />
              </a>
              <a data-fancybox="gallery" href="https://lipsum.app/id/63/1600x1200">
                <img src="https://lipsum.app/id/63/200x150" width="200" height="150" />
              </a>
              <a data-fancybox="gallery" href="https://lipsum.app/id/64/1600x1200">
                <img src="https://lipsum.app/id/64/200x150" width="200" height="150" />
              </a>
            </Fancybox>
        </>
    );
}

export default Example;
이제 Fancybox를 사용하고 싶은 컴포넌트에서 Fancybox.jsx 파일을 import 해주면 사용 준비가 끝난다.
위 코드처럼 a 태그에 data-fancybox 값을 설정하고 이미지 경로를 설정해주면 된다.
img 태그에는 클릭 전 표시될 이미지를 넣어주는데, 너비, 높이 값은 꼭 지정하지 않아도 된다.
추가적인 option 설정은 필요할 경우 공식 홈페이지에 나와있는 방법을 참고하면 된다.
https://fancyapps.com/fancybox/api/options/
Options | Fancybox - best JavaScript lightbox alternative
fancyapps.com
포스팅 하고 보니 몇 시간을 헤매던 것에 비해 정말 별 내용이 없다.
공식 홈페이지 설명을 빨리 이해했다면 시간을 아꼈을텐데 하는 아쉬운 마음이 든다.
뜬금없지만 개발자에게 영어 공부가 필수인 이유를 깨닫게된 날이었다.
'React' 카테고리의 다른 글
| [React] 로그인 구현하기 (0) | 2025.03.02 |
|---|---|
| [React] React에 MySQL 연동하기 (0) | 2025.02.25 |
| [React] 서브페이지 추가하기 (0) | 2025.02.17 |
| [React] 찜하기 기능 구현하기 (관심 매물 등록) (0) | 2025.02.11 |
| [React] React에서 이미지 추가하기 (0) | 2025.02.09 |